How to make probiotic Water Kefir (Tibicos) drink
Hello friends! Today I’m sharing my easy method for making tibicos or water kefir drink along with my best tips for no-fuss maintenance of tibicos grains, including how to rest them in between batches if you want a break.
This method and recipe are scalable to any size production you like. You can make a small amount as I do (700ml batches at a time), or you can make a whole lot more! Think about how much you are likely to drink, how many people are in your household, and scale this recipe up or down to suit your needs.
The post below contains my full process with photographs to demonstrate the steps along the way.
This post contains affiliate links.
As an Amazon Associate I earn from qualifying purchases.
Before you start…
What is tibicos?
Tibicos, or water kefir grains (I like to call them by their traditional Mexican name ‘Tibicos’) are small, cellulose scobys (SCOBY - symbiotic culture of bacterias and yeasts) that when placed into sugared water or other sweet liquid, ferment the liquid producing a lovely, lemony tasting, probiotic carbonated beverage. Like many other lacto-fermented drinks and foods, tibicos fermentation produces lactic acid, a tiny amount of alcohol and carbon dioxide.
Are they the same as milk kefir grains?
No, while they ferment liquids in similar way, tibicos grains are different scobys than milk kefir grains and can only be used to ferment non-dairy based liquids. Sugared water is the most common medium for the initial tibicos fermentation, however coconut water and non-dairy milks can also be cultured with the grains. The second fermentation of tibicos drink (where secondary flavours and carbonation under pressure are often introduced) can be done with other fruits and juices - more on that below.
What do you need?
A tablespoon (or more) of healthy tibicos/water kefir grains
Finding another tibicos fermenter local to you is the best way to source the grains, but if that’s not possible they are available online via specialty outlets (these are great) or though local trading posts.A wide-neck jar to ferment the drink
I use a 700ml Weck jar, you can read about where I source my jars on this page, I also recommend coffee jars or any other large jar you can find (check op-shops, they usually have many!). Your jar doesn’t have to be straight-sided like mine, but it is handy to have a wide mouth to make it easier to stir the jar and remove fruit pieces, raisins etc.A funnel and fine mesh strainer
These are necessary for straining the tibicos grains from the first fermenting jar into the second fermenting container or bottle (see process photos below). A fine mesh strainer is important to ensure that you catch the smaller, developing grains along with the larger ones.Water and sugar
I make my tibicos drink using filtered tap water and raw sugar. Tibicos likes some minerals to stay healthy, so using unrefined sugars in your mixture is helpful. Molasses can also be added in small amounts occasionally to give your grains a healthy mineral boost, but beware that too many minerals can give the grains and liquid a thicker/slimy texture, so a balance is needed. I find that my grains are very healthy with the use of regular raw sugar and the occasional addition of some rapadura/brown sugar or a touch of molasses. If your grains do become over-mineralised and slimy, just rinse them well in water, strain, then use as normal.Sultanas, raisins or other dried fruits (for the first ferment)
These are optional, but I find adding some sultanas or other small dried fruits (such as dried cranberries or sliced dried apricots) helps me to determine the activity of my tibicos ferment by the way they float up as the liquid carbonates. Other fruits can be added to tibicos ferments, however, I like to keep my first fermentation simple with just water, sugar and a few sultanas. Adding fruits in with the grains for the first fermentation can make it harder to keep the grains clean and free of debris. My advice is to save other ingredients for your second ferments or use raisins or sultanas which stay intact and are easy to remove.Other fruits, juices, ginger etc. to flavour the second ferment
Once the tibicos grains have fermented the sugared water for the ‘first ferment’ the grains are then removed (see the photos below) and more fruits, juices and other ingredients can be added to the liquid to add a whole range of interesting flavours. Some of the favourites I’ve been adding lately include raspberries, morello cherries, lemon juice and grated ginger - but the possibilities are endless! Most often I add some kind of sliced fruit and/or juice or ginger, but the tibicos drink is just lovely without additional flavours as well if you want to keep it simple.
The process, in photos:
Start by adding 1.5 tablespoons of raw sugar to a jar.
The amounts given here are perfect for my 700ml Weck jar and 1 tablespoon of tibicos grains, but you can use more or less according to the size of your jar and the amount of tibicos/water kefir you would like to make.
Add approximately 700g of water to the jar and stir to dissolve the sugar.
Stir until the sugar is completely dissolved. I use filtered tap water and raw sugar. There is no need to use heated water, the sugar dissolves in under a minute of continuous stirring.
Add your tibicos grains to the sugared water.
I use about 1 tablespoon of grains for my 700ml jar, you will need more if you are making a larger amount.
Tibicos grains multiply and grow over time, so you may need to discard some each time if yours increase in size rapidly. I usually discard some once a week. I give them to my chickens or put them in the compost.
Gently stir the grains in the sugared water.
Once the grains have settled to the bottom of the jar, add in a few sultanas, raisins, or other small dried fruit pieces and cover the jar with a loose-fitting lid or cloth and rubber band.
The dried fruits will rise up as the liquid carbonates, which helps you to determine when your tibicos drink is becoming well fermented.
When the dried fruit starts to float in the liquid you know it is fermenting and carbon dioxide is being produced. They will float and sink repeatedly (it reminds me of a lava lamp).
Once the sultanas or other dried fruit have all floated to the top (and stay there), taste a teaspoon of the liquid to see if it has soured. This usually takes around 1-2 days (depending on the season and ambient temperatures). If it is still very sweet and sugary tasting, leave it for longer. The tibicos culture consumes the sugar in the water and produces lactic acid and a small amount of ethanol. You want to taste this change before you consume the drink (otherwise you’re just drinking sugary water with very little probiotic benefit).
The liquid becomes increasingly opaque and cloudy as it ferments. This is another useful sign to look for.
Once the liquid is fermented, you can refrigerate it and consume it at your leisure, or you can go on to bottle the liquid with some fresh fruits/juices or other flavouring ingredients for a second fermentation and carbonation (this is totally optional). These are some examples of bottles I use for my second ferments. The middle one (passata bottle) is my favourite.
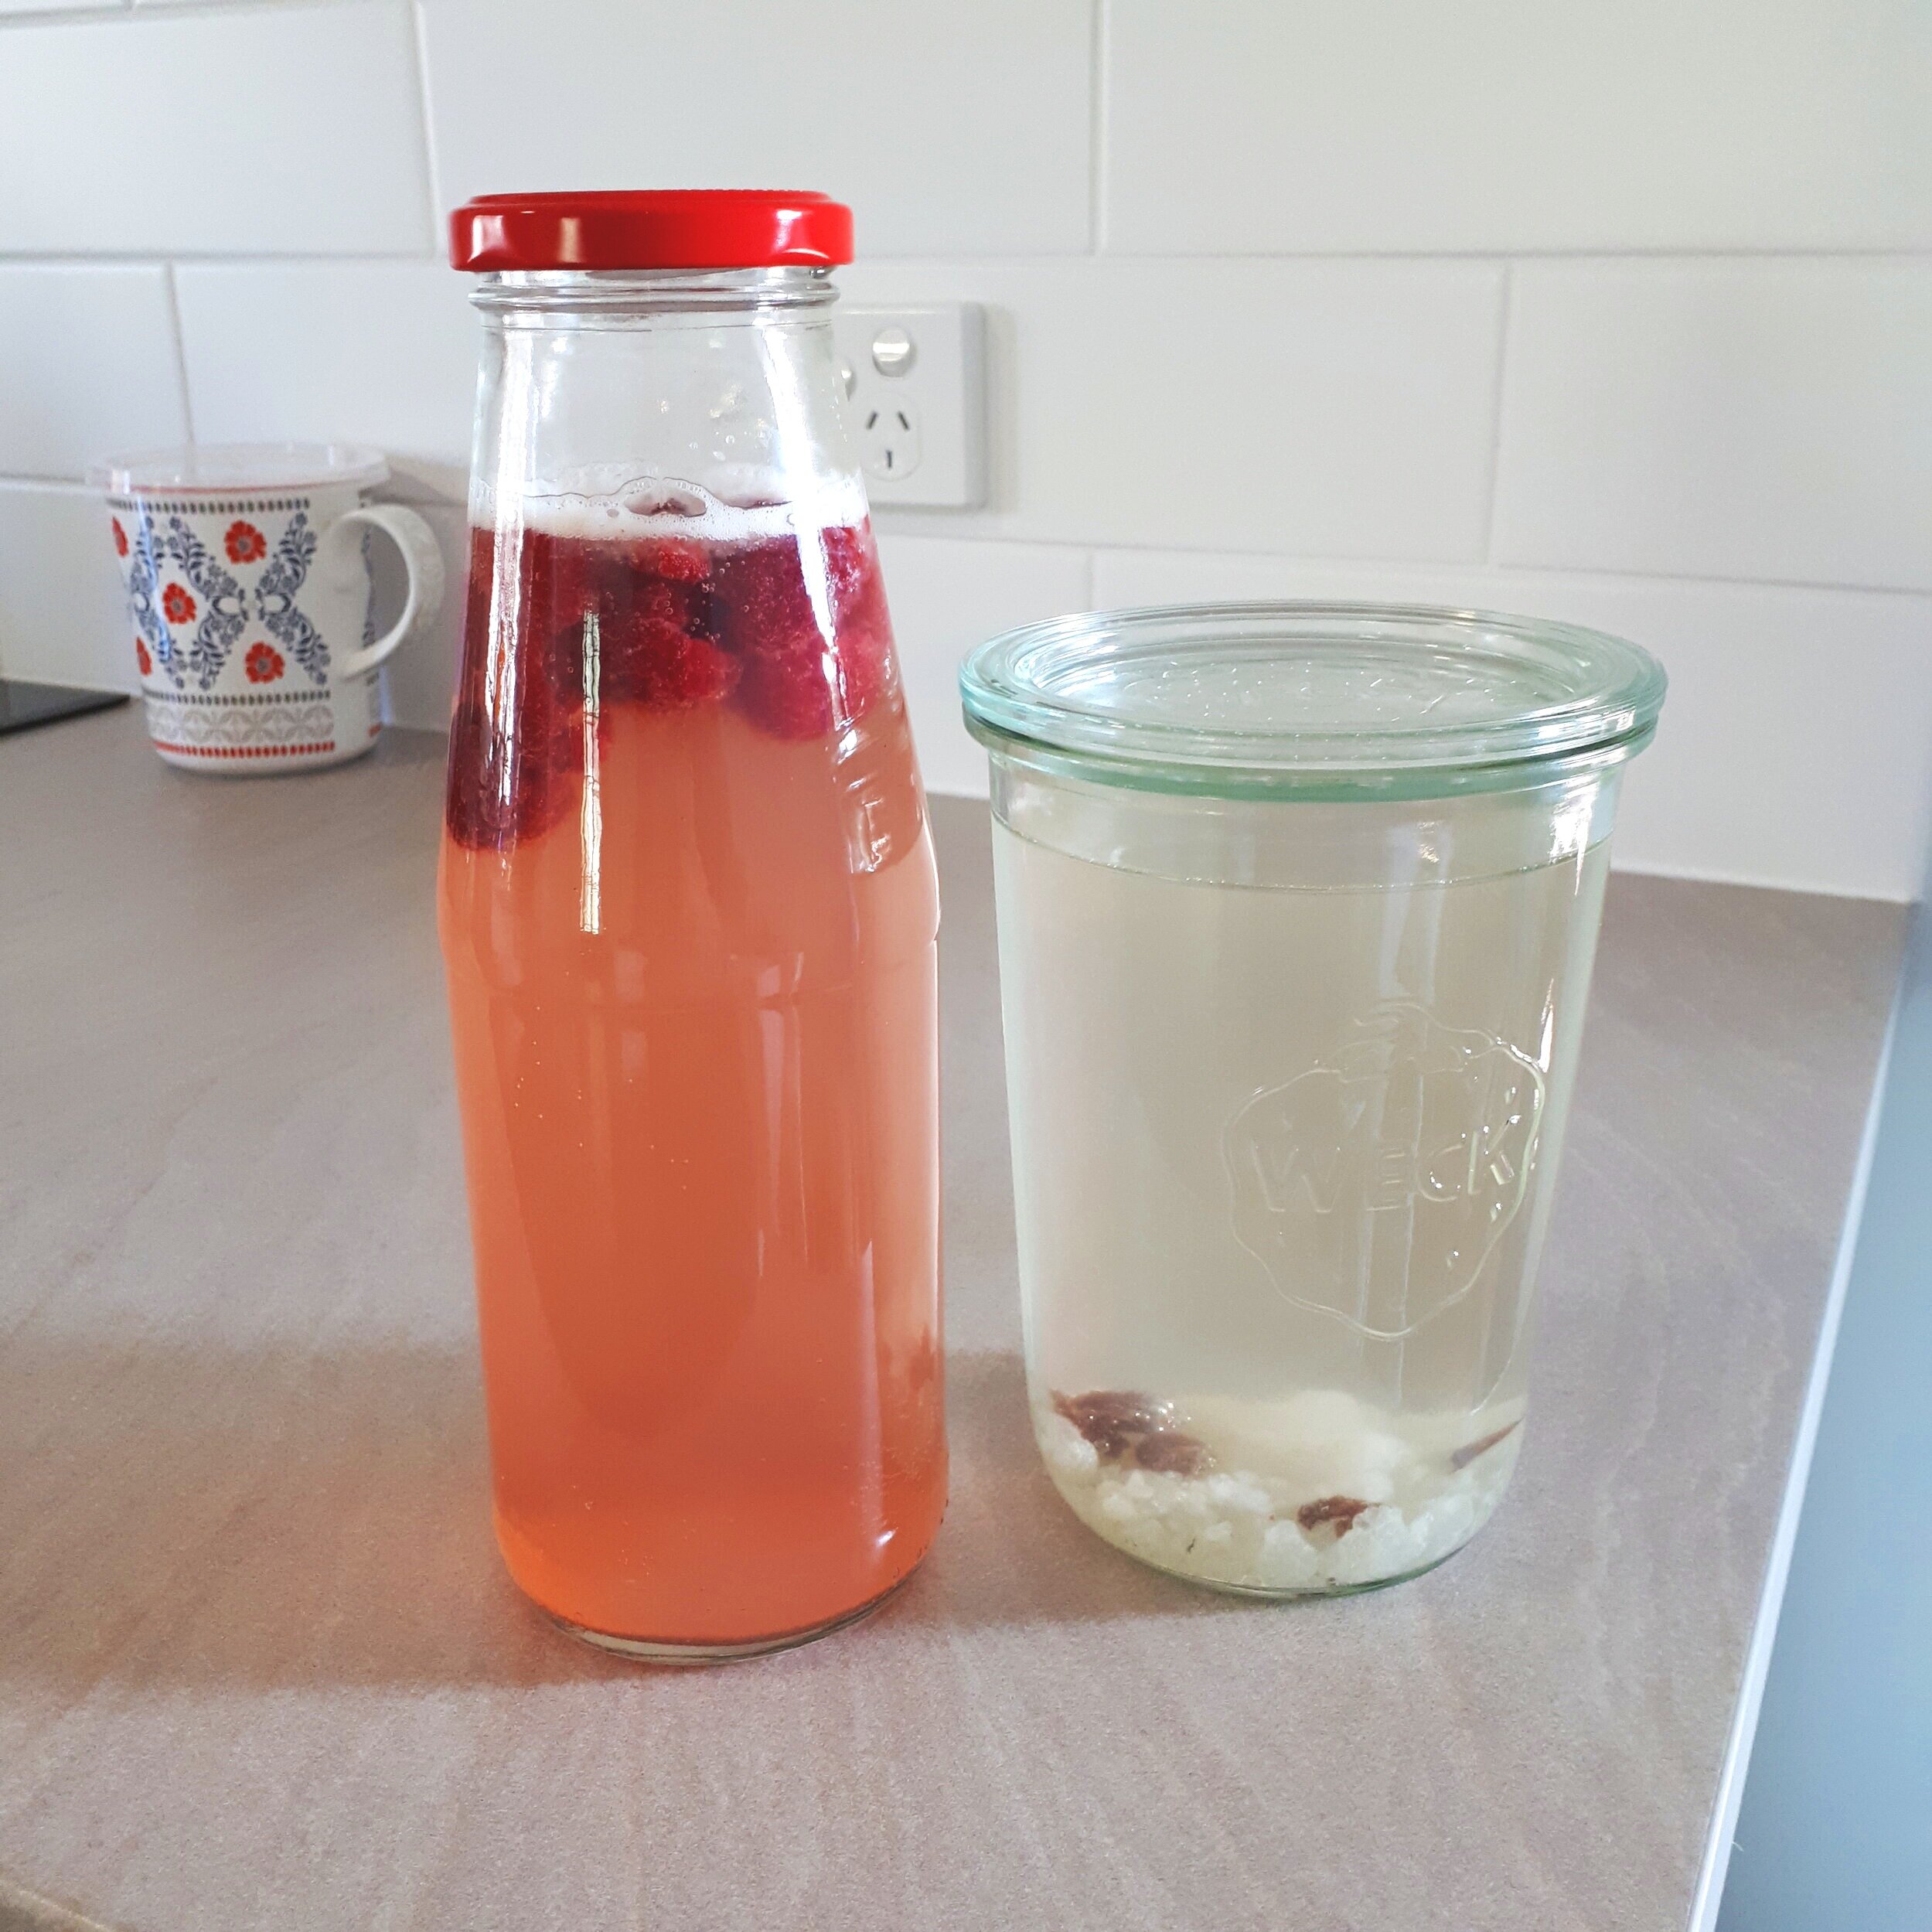
If you would like to ‘second ferment’ your tibicos drink, prepare your bottle or jars with fresh fruits or a small amount of juice. In this example I used some frozen raspberries with fresh lemon juice and half a teaspoon of added sugar to aid the second ferment and carbonation. Lemon juice and fresh ginger is another combination I love!
Adding fresh lemon juice. A tablespoon or two is all you need.
Remove the floating dried fruits from the first ferment container (I eat these).
Assemble your funnel and strainer over the bottle and strain in the tibicos liquid. Make sure you use a fine mesh strainer to catch all the small, developing grains.
I love this part. Watch that tibicos fizz!
You often get a nice fizzy effect when the drink is poured into a new container. You may be surprised to see how much carbonation the flat-looking syrupy liquid contains!
At this stage you can cover your second ferment bottle and start all over again with a new batch in your first fermentation jar. Once the two jars/bottles are prepared, leave them out to ferment side by side until the second ferment batch is ready for refrigeration and the new batch is ready for second fermenting.
***IMPORTANT*** The second ferment bottle will develop more carbon dioxide gas as it continues to ferment. If the lid of this bottle is sealed and left for too long and the pressure increases beyond the capacity of the container, it could explode! You may want to ‘burp’ the container occasionally to release excess pressure.
I don’t worry too much about extra carbonation of my second ferments. I usually leave them until the taste is nice and tangy (1-2 days), then they go into the fridge. I prefer to release the pressure and enjoy them lightly carbonated.
Enjoy your tibicos probiotic drink!
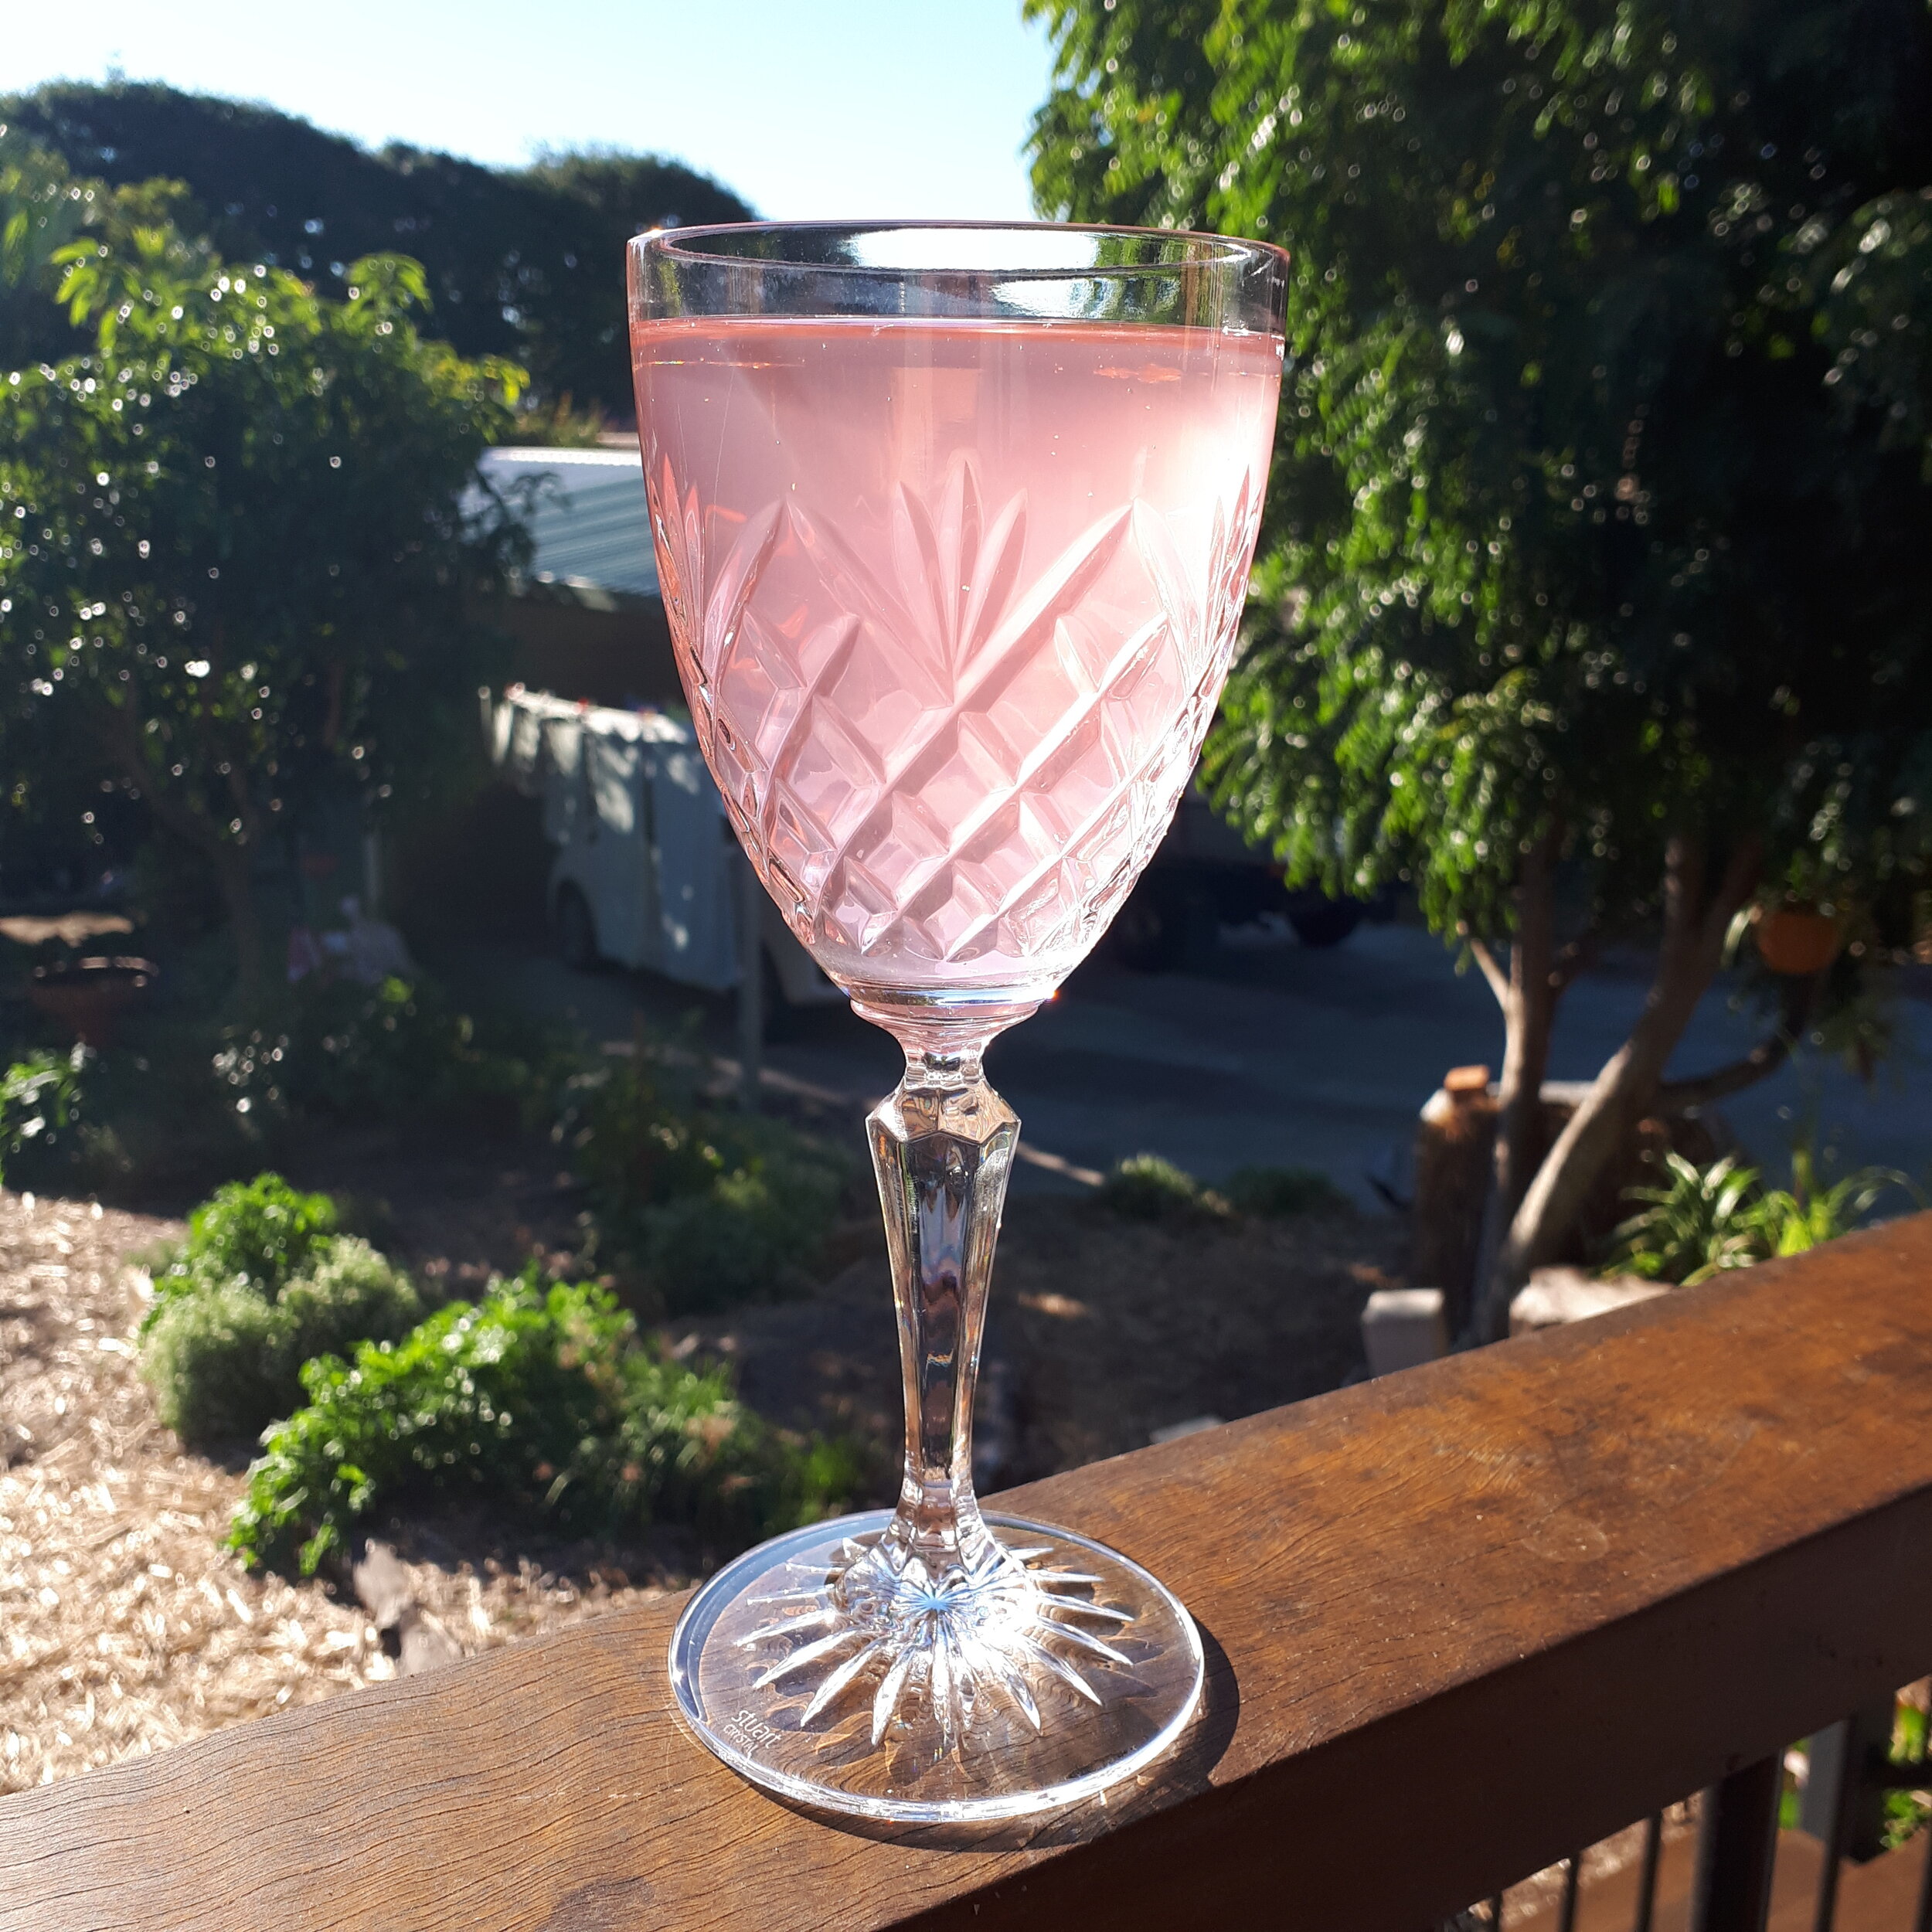
This is a batch I made flavoured with sliced morello cherries. I like to mix my tibicos with half water or soda water and in summer I pour it over lots of ice cubes. It’s wonderful refreshing drink to enjoy any time of year.
What if you need a break?
Tibicos grains can be stored for weeks in a fresh sugar-water solution in the fridge. I make a fresh, smaller jar of sugar water with 1 tablespoon of water and about 250-300g of water, dissolve the sugar and add in the grains. This goes into my fridge for short to medium term storage if I need a break, or if I already have a good amount of tibicos drink made and ready in the fridge. When you are ready to recommence the process, just strain the grains and begin again with your larger jar and fresh sugar water.
I’ll do a separate post soon with instructions for drying and storing tibicos grains for longer term storage.
Thank you for reading! Please share with others who may be interested, and let me know if you have any questions or comments below.
If you would like to support my work you can ‘buy me a coffee’ here (big thanks to all of you who have :)
To comment:
Type your comment and click ‘post comment’
Enter your first name or an initial/symbol (any character will do the trick - it just needs to have something in the name field)
Click ‘comment as guest’ and your comment will be published.


